
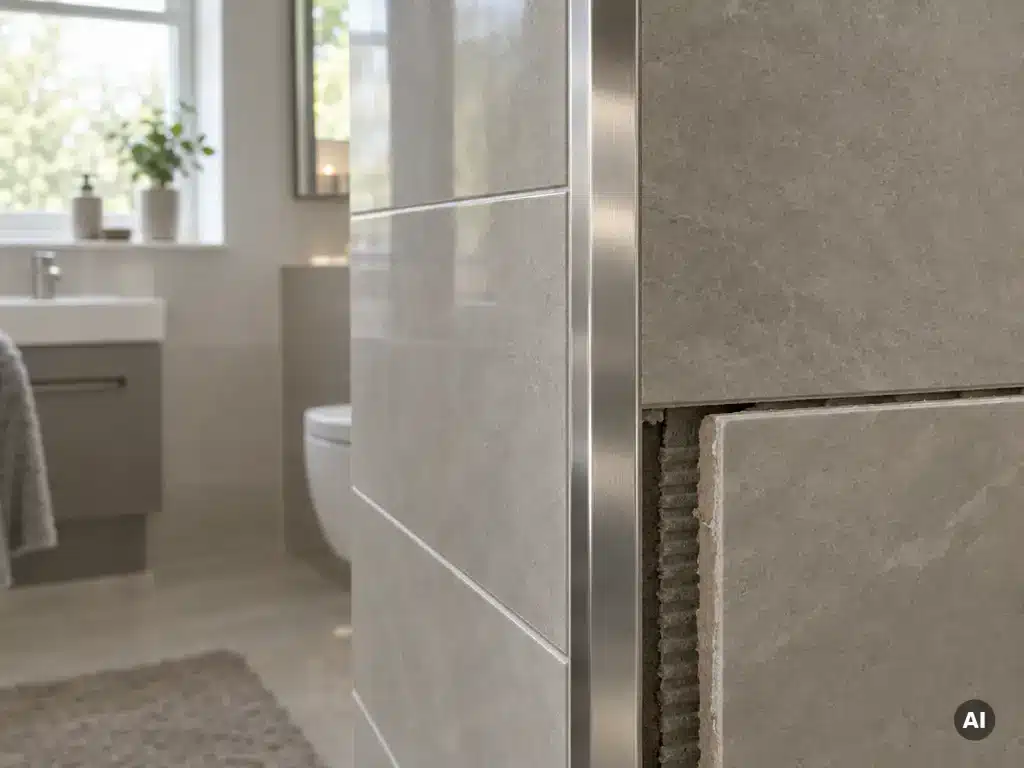
Tile trim is a strip of metal, plastic or other material that finishes the exposed edge of tiles, protects corners from chipping and creates a neat transition between surfaces. You do not always need it, but most tiled installations look sharper and last longer with it, especially on external corners and exposed edges.
The answer depends on the edge type, the tile material and the look you want. Below, we cover where trim goes, the alternatives, the main types, how to choose the right size and finish, and how to fit it.
Where is tile trim actually used on a tiled wall or floor?
Tile trim is used wherever tiles end or meet something else: external corners, the top edge of a half-tiled wall, window reveals, shower niches, steps and the point where floor tiles meet another floor covering. Its job is to protect and finish edges that would otherwise be raw or vulnerable.
On walls, the most common spots are outside corners, where a sharp tile edge is easy to knock and chip. It is also used along the top of tiling that stops partway up the wall, and around recesses and niches. On floors, trim sits at doorways and at changes between tile and carpet, laminate or wood, and it protects the edges of steps.
Trim also solves a practical problem. Cut tile edges are often rough, and glazed edges on ceramic tiles can look unfinished when exposed. A trim hides that edge and gives the installation a defined boundary.
Can you finish tiles without using any trim?
Yes, you can finish tiles without trim, but each alternative has trade-offs. Options include bullnose tiles, mitred corners, silicone joints and simply leaving a cut edge exposed. Whether these work depends on the tile type, how much wear the edge will take and how neat a finish you expect.
The main alternatives are:
- Bullnose or rounded edge tiles: factory-finished edges that need no extra part, though they are not available in every range.
- Mitred edges: two tiles cut at 45 degrees to form a clean corner. This looks seamless but takes skill and can leave a fragile edge.
- Flexible joints: where tiles meet a bath, shower tray or worktop, a flexible joint is better than rigid grout. A quality bathroom silicone sealant allows for movement and keeps water out.
- Exposed cut edge: acceptable only in low-traffic, low-visibility areas, as it chips more easily and looks less polished.
Porcelain and glazed ceramic tiles can show a visible body colour at the cut edge, which is another reason many people prefer a trim.
What are the different types of tile trim?
The main types of tile trim are straight edge, quadrant (rounded), square edge, internal corner and stair nosing profiles. Each suits a different job, from finishing a flat edge to protecting an external corner or adding grip on steps.
Edge and corner trims
Straight or square edge trim finishes the top of a wall or the open end of a tiled run, giving a sharp, contemporary look. Quadrant trim has a curved profile and wraps an external corner softly, which is often a safer choice in family bathrooms. Internal corner trims suit the angle where two walls meet, although many installers prefer a flexible sealed joint here.
Floor and step trims
Floor trims, sometimes called transition strips, bridge the gap between tile and another floor finish. Stair nosings protect the leading edge of a step and often include a textured strip for grip. These need to be tougher than wall trims, as they take daily impact.
You can browse a range of tile trim profiles to see how these types differ in shape and finish.
Which tile trim material and finish should you choose?
Choose aluminium for a lightweight, affordable and versatile trim, stainless steel for wet areas and heavy use, and PVC for budget projects. Brass and other decorative metals suit statement designs. Match the finish to your fixtures and the room’s moisture level.
Here is how the main materials compare:
- Aluminium: light, easy to cut and widely available in chrome, brushed and anodised finishes. Good for most dry and damp rooms.
- Stainless steel: highly durable and resistant to corrosion, which makes it a strong choice for showers, wet rooms and commercial spaces.
- Brass: adds warmth and a premium look, but can tarnish over time unless lacquered.
- PVC or plastic: inexpensive and available in many colours, though it can yellow or look less refined than metal.
For finish, consider coordinating with taps, shower fittings and radiators. Brushed or satin finishes hide fingerprints and water marks better than polished chrome. If the trim sits in a shower, avoid cheap metals that may corrode.
How do you pick the right trim size for your tiles?
Pick a trim whose height matches your tile thickness, so the trim sits flush with the tile surface. Most wall tiles are 6mm to 10mm thick, while many floor tiles and patio tiles are thicker, so always measure your tile before ordering.
Measure the tile thickness with a ruler or calipers, then choose the closest trim height. A trim that is too tall will stand proud and catch on clothing, while one that is too short leaves the tile edge exposed. Also allow for the adhesive layer, as the trim’s fixing leg sits beneath the tile.
Trim is usually sold in lengths of 2.5 metres. Add about 10 percent for cuts and mistakes when calculating how many you need. If you are budgeting for the whole job, remember to plan consumables too: a sensible estimate of how much grout you need and the right floor tile adhesive will prevent mid-project trips to the shop. Choosing the correct wall tile grout also matters, as it should tone with both the tile and the trim.
How do you fit tile trim step by step?
Fit tile trim by spreading adhesive on the wall, pressing the trim’s perforated leg into it, then bedding the tiles up against the trim so it sits flush. The trim goes in before the tile, which keeps the finished edge neat and secure.
- Measure and cut the trim to length using a hacksaw or fine-toothed blade, then file any burrs smooth.
- Apply tile adhesive to the area along the edge or corner using a notched trowel.
- Press the perforated leg of the trim firmly into the adhesive, checking it is straight and vertical.
- Apply more adhesive and set the first tile against the trim, so the tile surface sits level with the trim edge.
- Continue tiling, checking alignment with a spirit level as you go.
- Allow the adhesive to cure fully, then grout the joints and clean off excess before it hardens.
- Seal any change of plane or wet area joint with silicone sealant once everything is dry.
Wipe adhesive from the trim face straight away, as dried residue is difficult to remove without scratching the finish.
How Target Tiles helps with tile trim
Choosing trim is easier when the tiles, trim and fixing materials all come from one place. Target Tiles has over 30 years of experience supplying tiles and finishing products, and its range makes it simple to complete a project without mismatched parts.
- A choice of trim profiles, materials and finishes to suit walls, floors and steps
- Tiles, adhesives, grouts, sealants and tools available in the same order
- Free cut samples so you can check how a tile looks before committing
- Free delivery on orders over £299 and a price match promise
If you are unsure which profile suits your tiles, contact the team for friendly, practical advice before you order.

