10 Top Tiling
Tips & Easy
Mistakes to Avoid
Tiling can transform any space, adding both style and functionality to your home or commercial area. However, even minor mistakes can lead to significant issues down the line. To ensure your tiling project is a success, it’s essential to avoid common pitfalls and follow best practices.
In this guide, we’ll explore ten top tiling tips and highlight easy mistakes to avoid. Whether you're a novice or have some experience, these insights will help you achieve a flawless finish and enjoy lasting results. Let’s dive in and start tiling like a pro!

1- Measuring Your Area

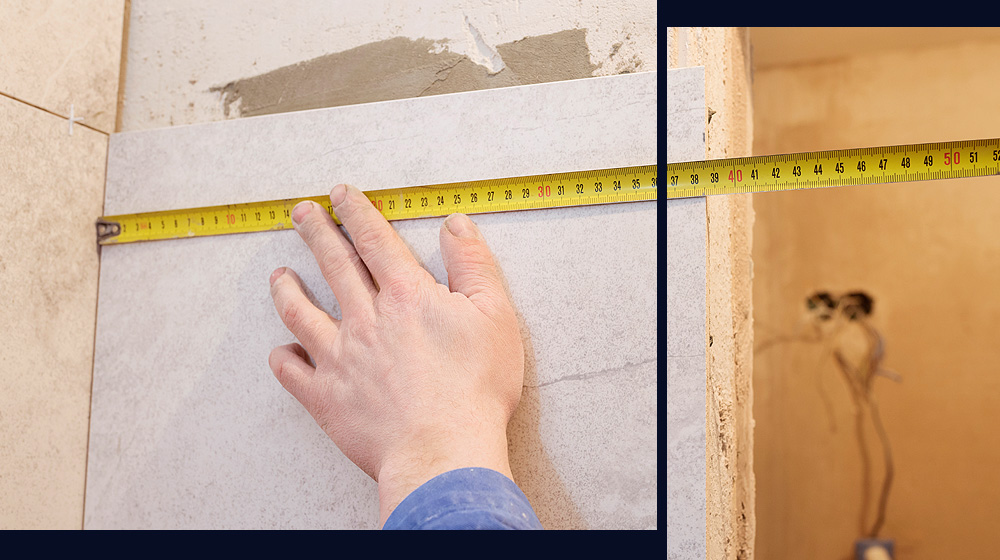
Easy Mistake: Miscalculating the tiling area leads to buying the wrong amount of tiles and adhesive.
Proper planning is the foundation of a successful tiling project, ensuring a perfect fit and a professional finish. Accurate measurements are essential to avoid buying too many or too few materials!
Begin by measuring the length and width of the space you intend to tile. For instance, let’s look at this example. If one side of a room is 3 metres and the other is 2 metres, you multiply these dimensions to find the total area: 3m x 2m = 6m². This calculation is the same for both floors and walls.
3m x 2m = 6m²

Top tip: Professionals also suggest adding an extra 10% to your total to account for cuts and wastage.
In our example, 10% of 6m² is 0.6m², bringing the total to 6.6m². This ensures you have a buffer, preventing delays if you make mistakes or if some tiles get damaged.
Knowing the area you’re working with also helps you calculate the adhesive needed. Most tile adhesive packaging will provide coverage information, so knowing your total area allows you to buy the correct amount. Always double-check your measurements and calculations to avoid unnecessary trips to the store and to ensure a smooth tiling process.
You can use our handy
Tile, Adhesive & Grout Calculator to work out the supplies you’ll need.

2- Choosing The Right Tile For The Job
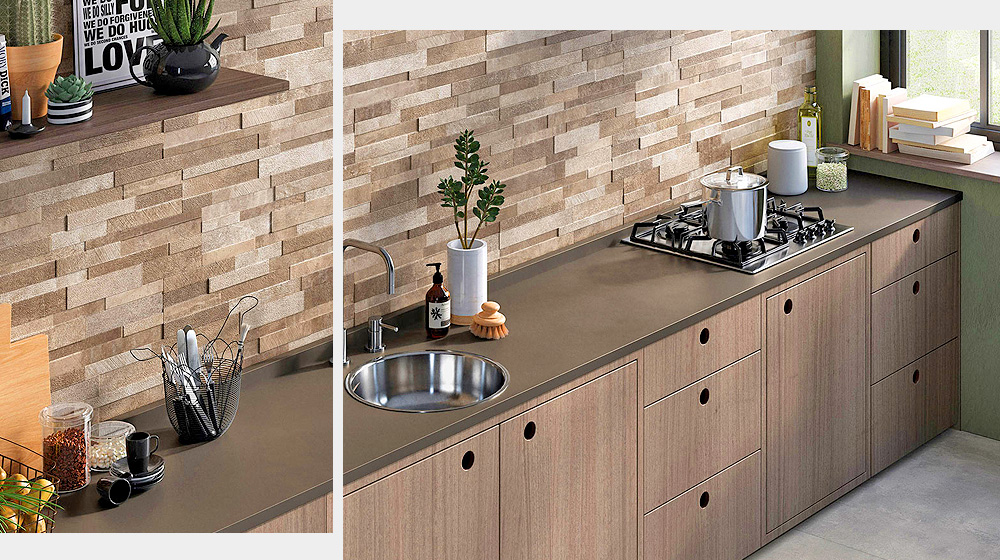
Easy Mistake: Using the wrong type of tile for the specific area can result in poor durability and a less appealing finish.
Choosing the right tile for your project is crucial to ensure both functionality and aesthetics. If you’re new to tiling, ceramic tiles are a great option as they are easier to cut and drill compared to other materials. It’s a common misconception that larger tiles are more prone to cracking. In reality, tile cracking often results from underlying issues such as improper surface preparation or using the wrong adhesive.
When selecting tiles, consider the room’s use and conditions. For instance, porcelain tiles are highly durable and suitable for high-traffic areas and wet environments like bathrooms and kitchens. On the other hand, natural stone tiles can add a luxurious touch but require more maintenance and specific sealing. Pay attention to the tile’s PEI rating, which indicates its hardness and suitability for different spaces.
Finally, consider the tile's style and how it complements your overall design. Tiles come in various shapes, sizes, and finishes, from sleek and modern to rustic and traditional. Choosing the right tiles will ensure a beautiful and long-lasting result, enhancing the space’s functionality and aesthetic appeal.

3 – Choosing The Right Adhesive
Easy Mistake: Using the wrong adhesive can cause tiles to loosen or crack over time.
Selecting the right tile adhesive is essential for the durability and stability of your tiling project. Different surfaces require specific types of adhesive. For instance, if you’re tiling onto a wooden background, opt for a flexible tile adhesive. This type absorbs movement and prevents cracking, ensuring your tiles stay securely in place.
A recommended product for such applications is BAL Flex One, a slow-setting, flexible adhesive suitable for both walls and floors. Always check the manufacturer's instructions to ensure the adhesive matches your tile type and surface conditions. For instance, flexible adhesives are ideal for areas that might experience slight shifts or expansions, such as wooden floors or heated surfaces.
By choosing the right adhesive, you ensure a long-lasting and professional finish, reducing the risk of future issues with your tiling project. This careful selection process ultimately saves time and money by preventing common adhesive-related problems.
4 – Preparing Your Surface
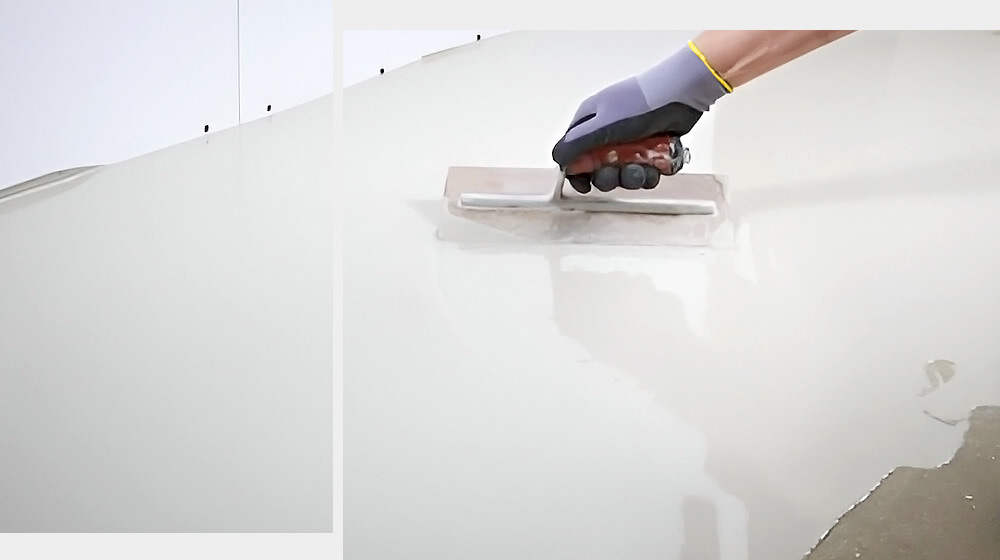
Easy Mistake: Neglecting proper surface preparation can lead to uneven tiles and poor adhesion.
Proper surface preparation is crucial for a successful tiling project. Begin by ensuring your surface is clean, dry, and solid. Remove any loose debris with a brush to create a stable base. If the floor is uneven, use a levelling compound like BAL Level Max to achieve a smooth, flat surface, preventing tiles from having unsightly lips.
For walls, consider using a primer such as Ardex P4 Primer. This creates a rough texture that improves the bond between the tile adhesive and the surface. This primer is also suitable for tiling over existing tiles, saving time on demolition. Using a levelling kit, like the Genesis Easy Level Kit, can also help maintain even spacing and a professional finish.
Skipping these steps can result in significant problems down the line, such as tiles not adhering correctly, which can cause them to loosen or crack over time. Uneven surfaces can also lead to an unprofessional appearance, with tiles not lining up correctly or having noticeable lips and gaps.
5 – Setting Out
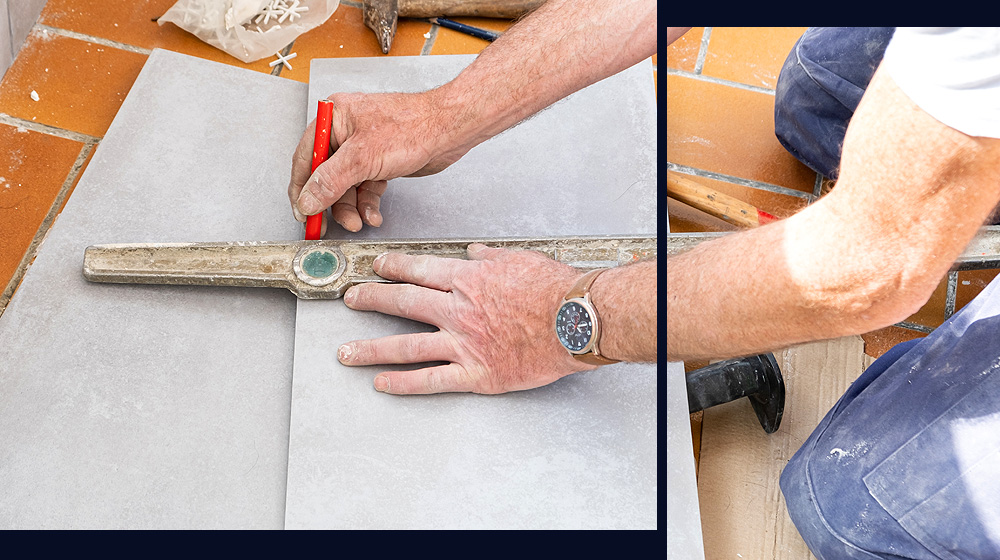
Easy Mistake: Failing to plan the tile layout can lead to misaligned tiles and uneven cuts.
Before mixing adhesive or laying tiles, take time to plan your layout. Start by marking the centre of your area with a tape measure. Divide the distance to each edge by your chosen tile size, remembering to include spacers. This helps in achieving a symmetrical and balanced look, avoiding awkward, small edge cuts.
Another effective method is to dry-lay your tiles. Place them without adhesive to visualise the layout and make necessary adjustments. This allows you to ensure that the cuts at the edges are even and the tiles align properly.
Consider how you want your tiles to look. Do you prefer a traditional grid pattern, a brick layout, or something more intricate like a herringbone design? Each pattern requires careful planning to ensure consistency and visual appeal. Use chalk lines or a laser level to mark guidelines on the floor or wall. This will help you maintain straight lines and align tiles accurately.
If you’re incorporating decorative tiles or borders, plan their placement in advance. Visualise how these elements will fit within the overall design, ensuring they don’t end up in awkward positions.
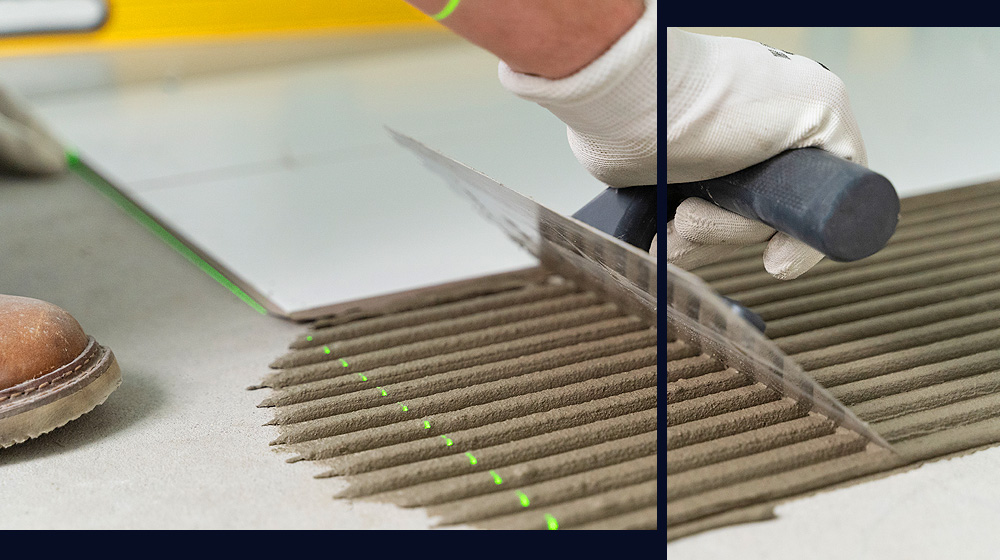
6 – Troweling Out Your Adhesive
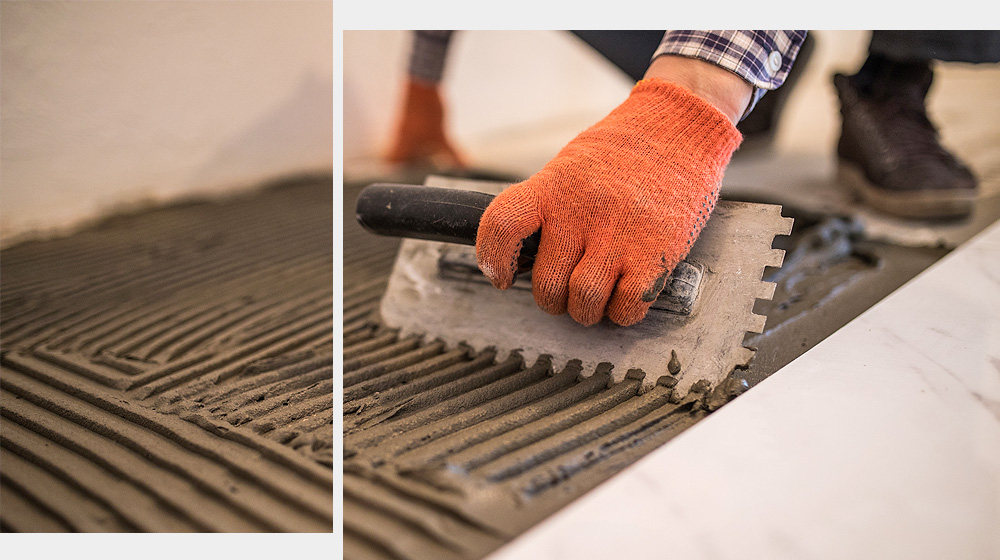
Easy Mistake: Incorrect application of adhesive can result in poor tile adhesion and uneven surfaces.
Once you’ve planned your layout, it’s time to trowel out your tile adhesive. Using the right notched trowel is crucial: a 5mm notch trowel is suitable for wall tiles, while an 8mm notch trowel works well for floor tiles. Our Dual Notch Trowel conveniently offers both sizes for versatility in various jobs.
Start by mixing your adhesive according to the manufacturer’s recommendations. Apply the adhesive with the notched side of the trowel held at a 45° angle, spreading it evenly and ensuring all lines run in the same direction. This technique helps moisture and air escape, promoting even drying and a strong bond.
For larger tiles or floor installations, back buttering is recommended. This involves spreading a thin layer of adhesive on the back of each tile before placing it. Press the tile firmly into the adhesive on the floor or wall, giving it a slight twist to enhance adhesion and eliminate air pockets.
7 – Cutting & Drilling Tiles
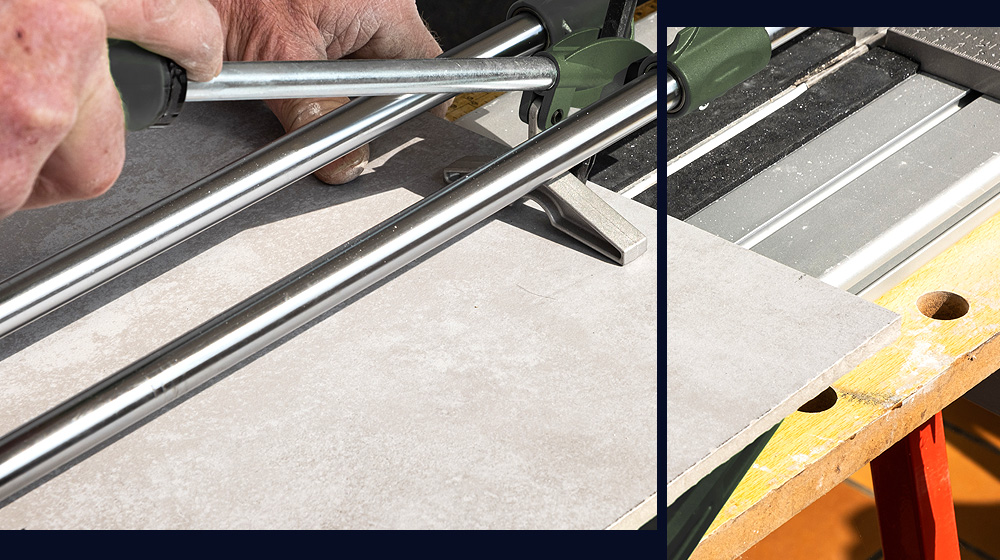
Easy Mistake: Inaccurate measurements and improper cutting techniques can result in wasted tiles and poor fits.
Cutting and drilling tiles is a necessary part of almost every tiling job, whether for fitting around edges or making holes for fixtures like radiator pipes or shower valves. Begin by marking where you need to cut on the tile, and ALWAYS DOUBLE-CHECK YOUR MEASUREMENTS. As the saying goes – “measure twice, cut once” to avoid errors.
For cutting, use a tile cutter—either a manual one like the Sigma 3C3M Manual Tile Cutter or an electric tile saw. Align your mark with the cutting wheel and, with steady pressure, score the tile by pushing down and away. Snap the tile cleanly along the scored line. If using an electric cutter, align the mark with the blade and feed the tile through slowly to ensure a straight cut.
When drilling holes, use a diamond-tipped drill bit designed for tiles. Start drilling at a slow speed to create a pilot hole, then gradually increase the speed to complete the hole without cracking or chipping the tile. Ensure the tile is supported from underneath to prevent breakage.
These careful techniques help achieve accurate cuts and holes, ensuring that your tiles fit perfectly into your design without unnecessary waste.
8 – Grouting
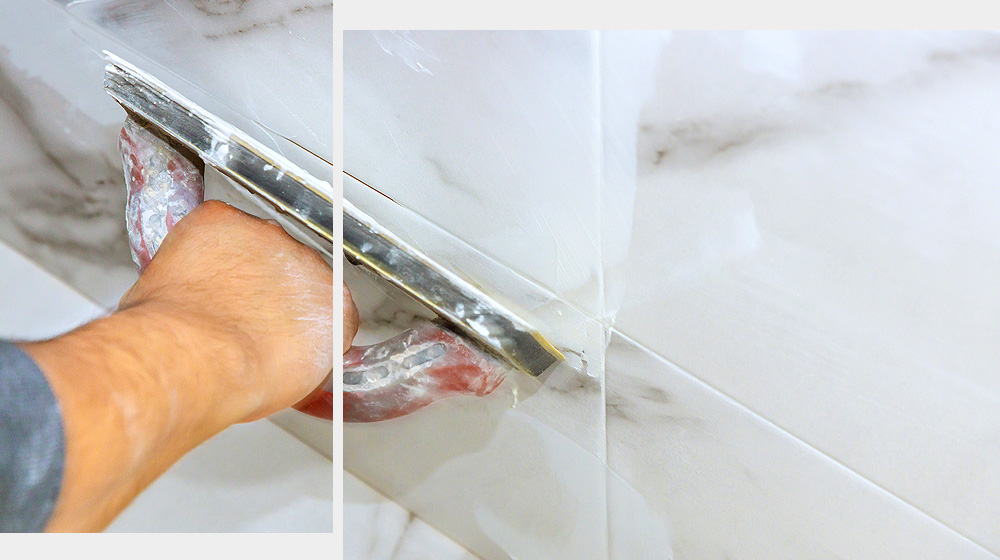
Easy Mistake: Using the wrong grout or incorrect mixing can lead to uneven colouring and poor durability.
Grouting is the process of filling in the gaps between your tiles, and choosing the right grout can significantly impact the final appearance. Select a grout colour that complements your tiles to enhance their overall look and give it that ‘Wow Factor’. Ensure the grout is suitable for the specific area—use wall grout for walls and floor grout for floors.
Some grouts, like Mapei Ultracolour, are versatile and can be used for both walls and floors, simplifying the process. It’s crucial to mix the grout according to the manufacturer’s guidelines. Using too little water can make the grout difficult to work with, while too much water can cause the colouring to become uneven and weaken the grout.
Apply the grout with a rubber float, pressing it firmly into the gaps. Hold the float at a 45-degree angle to ensure the grout fills the spaces completely. After applying, wipe away excess grout with a damp sponge before it dries, taking care not to remove grout from the joints.
9 – Silicone
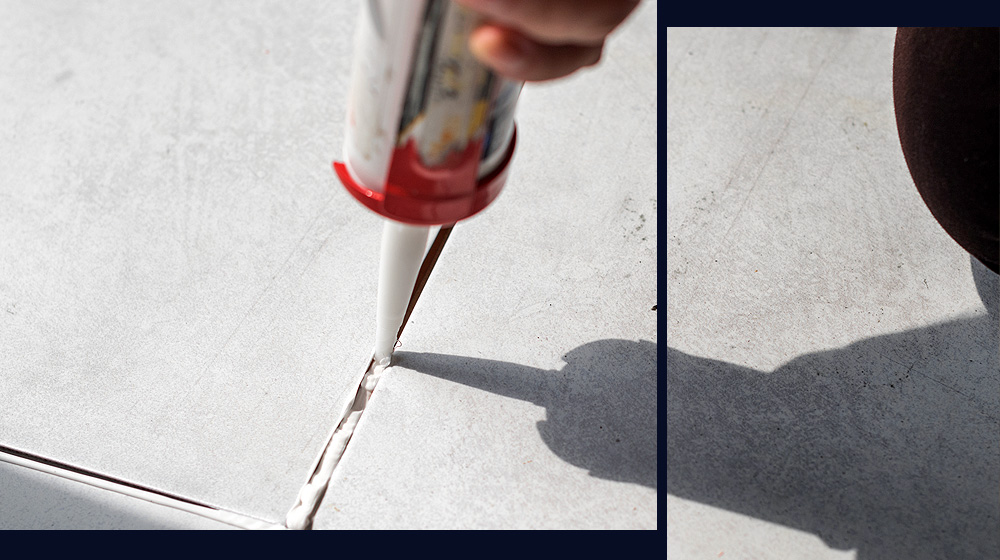
Easy Mistake: Using the wrong silicone or applying it unevenly can lead to poor sealing and water damage.
Silicone sealing provides a watertight seal, protecting your tiled surfaces from moisture and ensuring a clean, finished look in areas like kitchen splashbacks, bathroom floors, and shower areas. Choose a silicone that matches the colour of your grout for a cohesive appearance. Products like Ardex ST and Mapei Mapesil offer matching colours to grout, providing a seamless finish.
When applying silicone, use a skeleton gun with even pressure and maintain a steady pace to ensure an even bead. Make sure the silicone fills the joint completely without gaps. After applying, smooth the silicone with a wet finger or a silicone tool to create a neat line.
Allow the silicone to cure completely for at least 24 hours before touching or exposing it to water.
10 – Clean Up
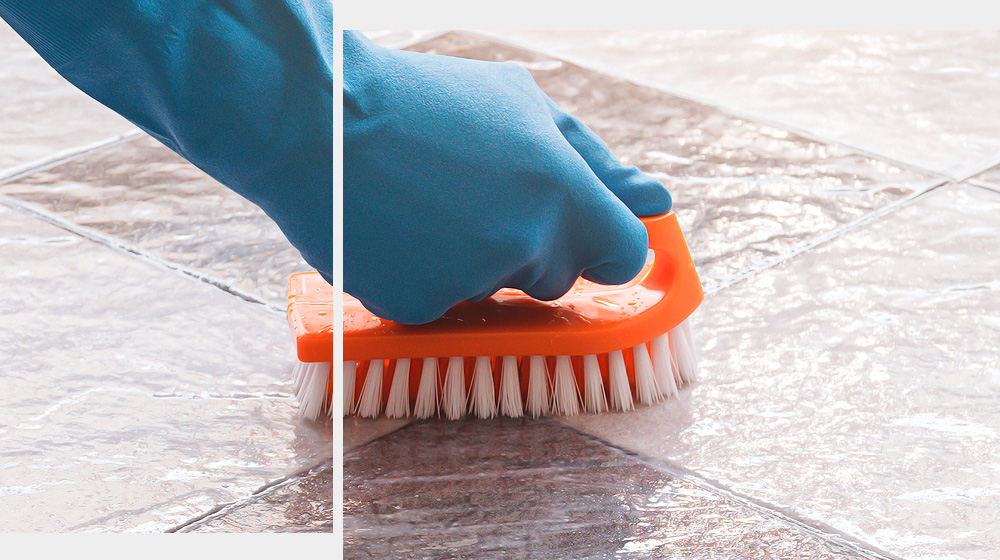
Easy Mistake: Neglecting the final clean-up can leave a haze on tiles and reduce the quality of the finish.
The clean-up process is the critical final step in any tiling project! After applying grout and allowing it to set for the recommended time, wipe down the tiles with a damp sponge to remove any excess grout. Be thorough, but gentle, to avoid pulling grout from the joints.
Once the grout has dried, a haze may form on the tile surfaces. Use a clean, dry cloth to buff the tiles, removing this haze and ensuring a bright, clear finish. This step is often overlooked but is essential for achieving a professional look.
Cleaning is not just about aesthetics; it also prevents potential damage. Leftover grout and adhesive can harden and become difficult to remove, potentially scratching or damaging the tile surface. Prompt cleaning helps maintain the integrity and beauty of your tiling.
A clean workspace minimises the risk of accidents or messes spreading to other areas, making the entire project more efficient and effective. Be sure to clean all tools and materials immediately after use to prevent adhesive and grout from hardening on them. Proper maintenance of your tools ensures they remain in good condition for future projects.
Start Your Tiling Project Today
Tiling can significantly enhance the beauty and functionality of any space, but it requires careful planning and execution. By avoiding common mistakes and following our expert tips, you can achieve a professional and durable finish. Check out our style & advice section and our YouTube channel for more helpful advice on tiling projects.
Explore our
wide range of quality tiling products at Target Tiles to start your next project with confidence!


