How to Tile a Floor – A Step by Step Guide
You may be asking the question ‘Should I tile my floor myself?’ or ‘Is it best to get a professional?’
We think there’s an argument for both cases, but the most cost-effective option is to have a go yourself. Providing you have the right preparation, tools, and mindset tiling a floor is an achievable task.
Before you begin your DIY journey, it’s important to get the basics right by calculating the number of tiles & adhesive you need.
For this, make use of our free tile & grout calculator.
What will I need to Tile a Floor?
Ever heard the expression ‘a bad workman always blames his tools?’ Well, with this guide you shouldn’t have that problem.
So, first things first, let’s look at the tools you’ll require:
Tools
- Sponge
- Tile Nippers
- Levelling Compound
- Spirit Level
- Rubber Hammer
- Knee Pads
- Adhesive Trowel
- Tile Spacers
- Adhesive Grout
- Silicone Sealant
- Tile File
- Grout Spreader
- An Electric or Manual Tile Cutter
Safety Kit
- Safety Gloves
- Dust Mask
Right, now that you’ve got the tools and safety equipment, let’s crack on with the job at hand.
STEP ONE – How Many Floor Tiles do I Need?
Begin by measuring the length of the room and then divide it by the length of one floor tile.
Next, measure the width of the room and divide that by the tile width.
Now, multiply the two numbers together (rounding up to the nearest whole number) which will give you the number of tiles you require for the job.
TOP TIP: We recommend buying 10% more floor tiles than you need to allow for any broken tiles.
STEP TWO – Preparing the Surface
Floor tiles can be laid on concrete or timber flooring:
Laying on a Concrete Floor
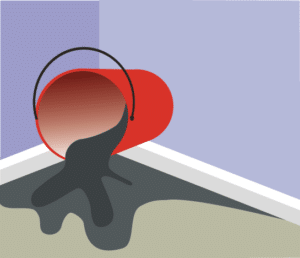
If you’re working with an uneven surface, apply a self-levelling compound. Follow the instructions that come with the compound and leave to dry overnight.
Once dried, you might find there are ridges on the floor. Use a medium-grade sandpaper block to smooth them off.
Laying on Floorboards
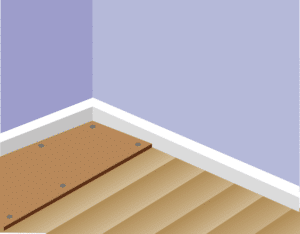
Simply screw down to the floor every six inches along the joists using a self-tapping screw before laying your tiles.
Alternatively, you can use ‘Ditra Matting’ which can be purchased here.
STEP THREE – Planning the Layout
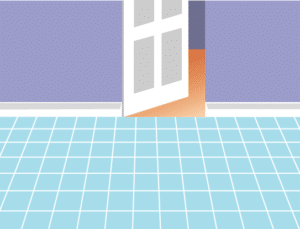
Doing a little preparation will help you avoid uneven spacing or poorly aligned rows of tiles.
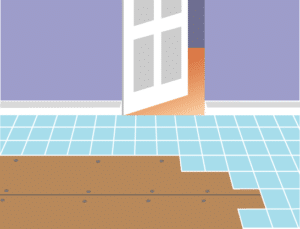
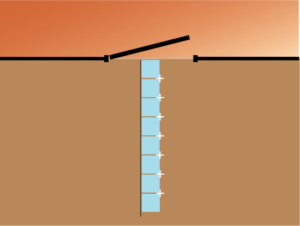
Tile spacers come in various sizes all of which can be purchased from our website. Once you get to the other side of the room, you’ll be left with a space smaller than a whole tile.
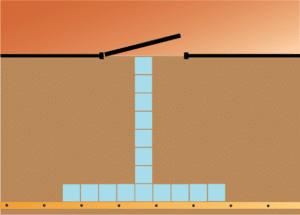
Lay a line of tiles along the timber guide.
This will ensure you finish with an equal border at both ends of the room. If you end up with a different size space on one side of the room to the other, shift your perpendicular line slightly to rectify this. The point where this line touches the board will form your starting position.
STEP FOUR – Laying your floor tiles
Now you’re ready to fix your tiles to the floor from the starting point. Before you lay any tiles, check there aren’t any colour variations.
Use a trowel with a notched edge or a spreader to apply an adhesive to a square area of the floor (approx. 1sqm at a time) ensuring the whole area is covered.
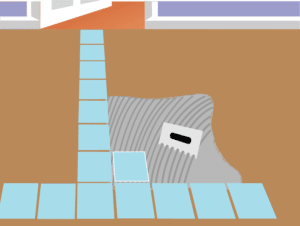
Fix your tiles to the adhesive-covered area.
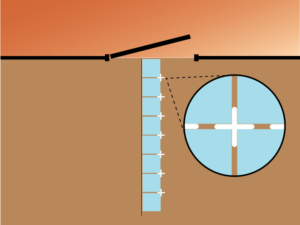
Using your spacer, check that they are equally arranged.
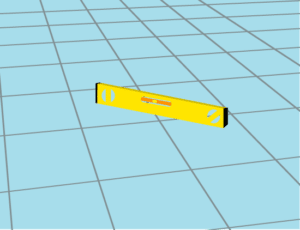
Use a spirit level to see that the tiles are flat. Place it across each row and diagonally
If a tile is higher than the others, tap with a rubber hammer until level. If you find that a tile is too low, lift and reapply the adhesive.
Once you’re finished, leave the tile adhesive to set. Drying times may vary, depending on drying conditions and thickness of the adhesive and type supplied.
STEP FIVE – Cutting Tiles for Your Border
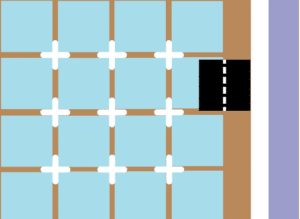
Mark this tile at the point where it overlaps the one beneath. This will show the size that the tile needs to be cut to.
Don’t forget to allow for the spacers. You can use an electric tile cutter to cut your tiles or a manual cutter both available from Target Tiles.
If the cut is more complicated then use a tile saw. Place tile adhesive to the back of the border tiles rather than on the floor.
STEP SIX – Grouting your Tiles
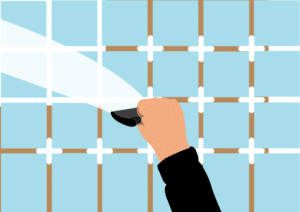
Allow for the adhesive to dry before you grout the tiles. Drying will vary depending on the type of adhesive used.
Mix up the grout and follow the pack instructions.
Use a rubber edged squeegee to fill the spaces with the grout. Hold at a 45-degree angle.

Have a damp sponge to hand as you go. Wipe any wet grout off the surface of the tiles, but take care not to remove the grout from the tile joints where you’ve applied it.
STEP SEVEN – Maintaining your Grout
If your grout cracks you can’t just grout over it, unfortunately! With a grout remover, take away at least two-thirds of the depth of the old grout first.
Once you’ve done that, you can reapply your new grout. If any excess grout remains on the tiles, this can easily be removed by using one of our many products combined with a nylon scrub pad.
If your tiles are decorative, it’s a good idea to test your cleaning product on a spare tile first. That way you can check whether the cleaner will damage the design.
And there you have it. Hopefully, this guide has given you all the information you require to tile a floor.
Click here to download this guide in PDF format. Oh, and remember to send us photos of your finished project.
Recent Posts
Why Choose Us?
- Free Delivery over £249*
- Free Sample Delivery*
- 10,000 Square Meters in Stock


