Do It Yourself Guide: How To Tile A Kitchen Splashback Wall
Ever wondered how to tile a kitchen splashback wall? You could inject some colour into your kitchen to brighten it up. Or style out your brand new kitchen that expresses your own personality. Whatever the reason, we’ll be talking about the different types of splashbacks available. And give you a crash course in tackling the job yourself, with some handy tips thrown in as well.
Do I need a kitchen splashback?
In many homes the kitchen is at the heart of everyday, no matter how careful and clean you are, accidents can and do happen. Sticky finger prints from the kids, fat stains from cooking last nights dinner and greasy marks from last weekends cheeky takeaway. All these can build up over time on the areas behind your worktops, oven and sink. That’s where the humble kitchen splashback comes in! They provide a easy to clean, water-proof protection for the walls in your kitchen. While also adding a stylish panache to enhance your kitchen.
What types of kitchen splashbacks are out there?
As with everything in the modern world of today, splashback walls can be made from many different materials. For simplicity, we’ll focus on the 3 most commonly used materials, Tiles, Stainless Steel & Glass.
A Stainless Steel splashback can often be very expensive and having these cut to size can be extraordinarily costly. They also need a lot of up keep looking nice. Without special cleaning agents these splashbacks often loose their metallic shine.
Glass Splashbacks can give you a beautiful effect of high contrast colours or stunning effects. But these types of splashbacks often need specialist, or at least, experienced tilers to fit correctly. This is mainly due to the need for special adhesives as well as cutting equipment. In our experience glass splashbacks often suffer from streaking and scratches much more than tiled walls.
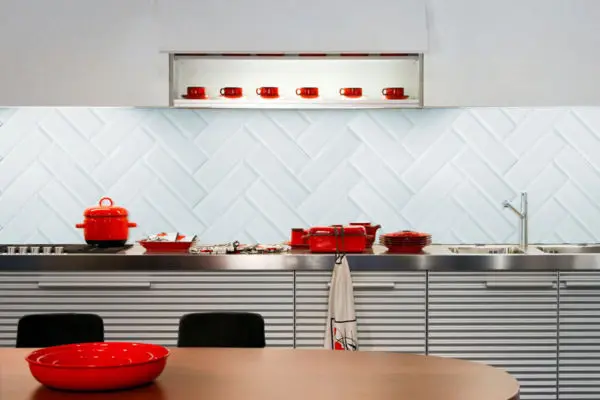
Tiles are the most used and trusted of kitchen splashback walls. Their natural resistance to high temperatures, scratches and staining make them the ideal choice for many people. And a quick wipe down with hot water and soap and hey presto! Back to brand new and shining, just like out of the showroom.
Perhaps the best reason to opt for a tiled splashback is the vast amounts of styles, colours and sizes available. From classic Metro Tiles to Patterned Decors, there is sure to be a type of tile to suit your taste.
Tiling Guide – How to tile a kitchen splashback wall
A tiled kitchen splashback can be the most cost effective way of protecting your kitchen walls from marks and stains. And by getting stuck in you could get a huge bang for your buck when it comes to redecorating! We’ve made a quick step by step guide below to help you;
- Make sure the surface is clean , dry and solid, this will make sure that once your tiles are up they stay up. Pro-Tip – You can actually tile on top of your existing tiles! Just make sure they aren’t loose, and give them a score with some sandpaper so the adhesive can easily grab hold of them.
- Mix up your tile adhesive, or if using a ready mixed adhesive like Ardex D20 just open the bucket. Using a Notched Trowel apply an even layer of tile adhesive about 2mm to 3mm thick. Only apply enough adhesive to cover the area for the first horizontal row of tiles.
- Once your happy with your first bed of adhesive (congrats by the way!), you can start to fit your first row of tiles. Make sure to put spacers between each tile, this will help you get a good even spacing between each one. Also between your worktop, this will raise your first row slightly, making it easier to silicone after. Pro-Tip – When putting your tiles up, give them a good push and a twist at the same time, this helps the adhesive get a better hold!
- Once you’ve reached the end of your row you may need to cut a tile to finish off. Place a tile in the gap and mark how much of the tile needs to be cut. Then using a tile cutter, score the marked line and apply light pressure to break the tile and fit it on the wall.
- Before getting started on the next row of tiles, use your spirit level to make sure the first row is nice and level. Now you can just repeat the same process of troweling your adhesive and placing your tiles.
- Once you’ve tiled the whole area (I know you’ve nearly finished but keep going), make sure you wipe of any excess adhesive that may have strayed from your wall, use a damp sponge. Mix your tile grout with clean water and apply it across the whole area with a soft grout squeegee.
- Before letting the grout set and dry, wipe the whole area with a damp clothe or sponge to remove any smears of excess grout, then just sit back and admire your hard work!
If you found this guide helpful, we have a full in-depth guide available here for tiling walls and tiling floors. Why not browse some of our kitchen tiles here to get some ideas for your next DIY project, or order FREE samples to make sure they are exactly what you want!


