How to Tile a Wall – A Step by Step Guide
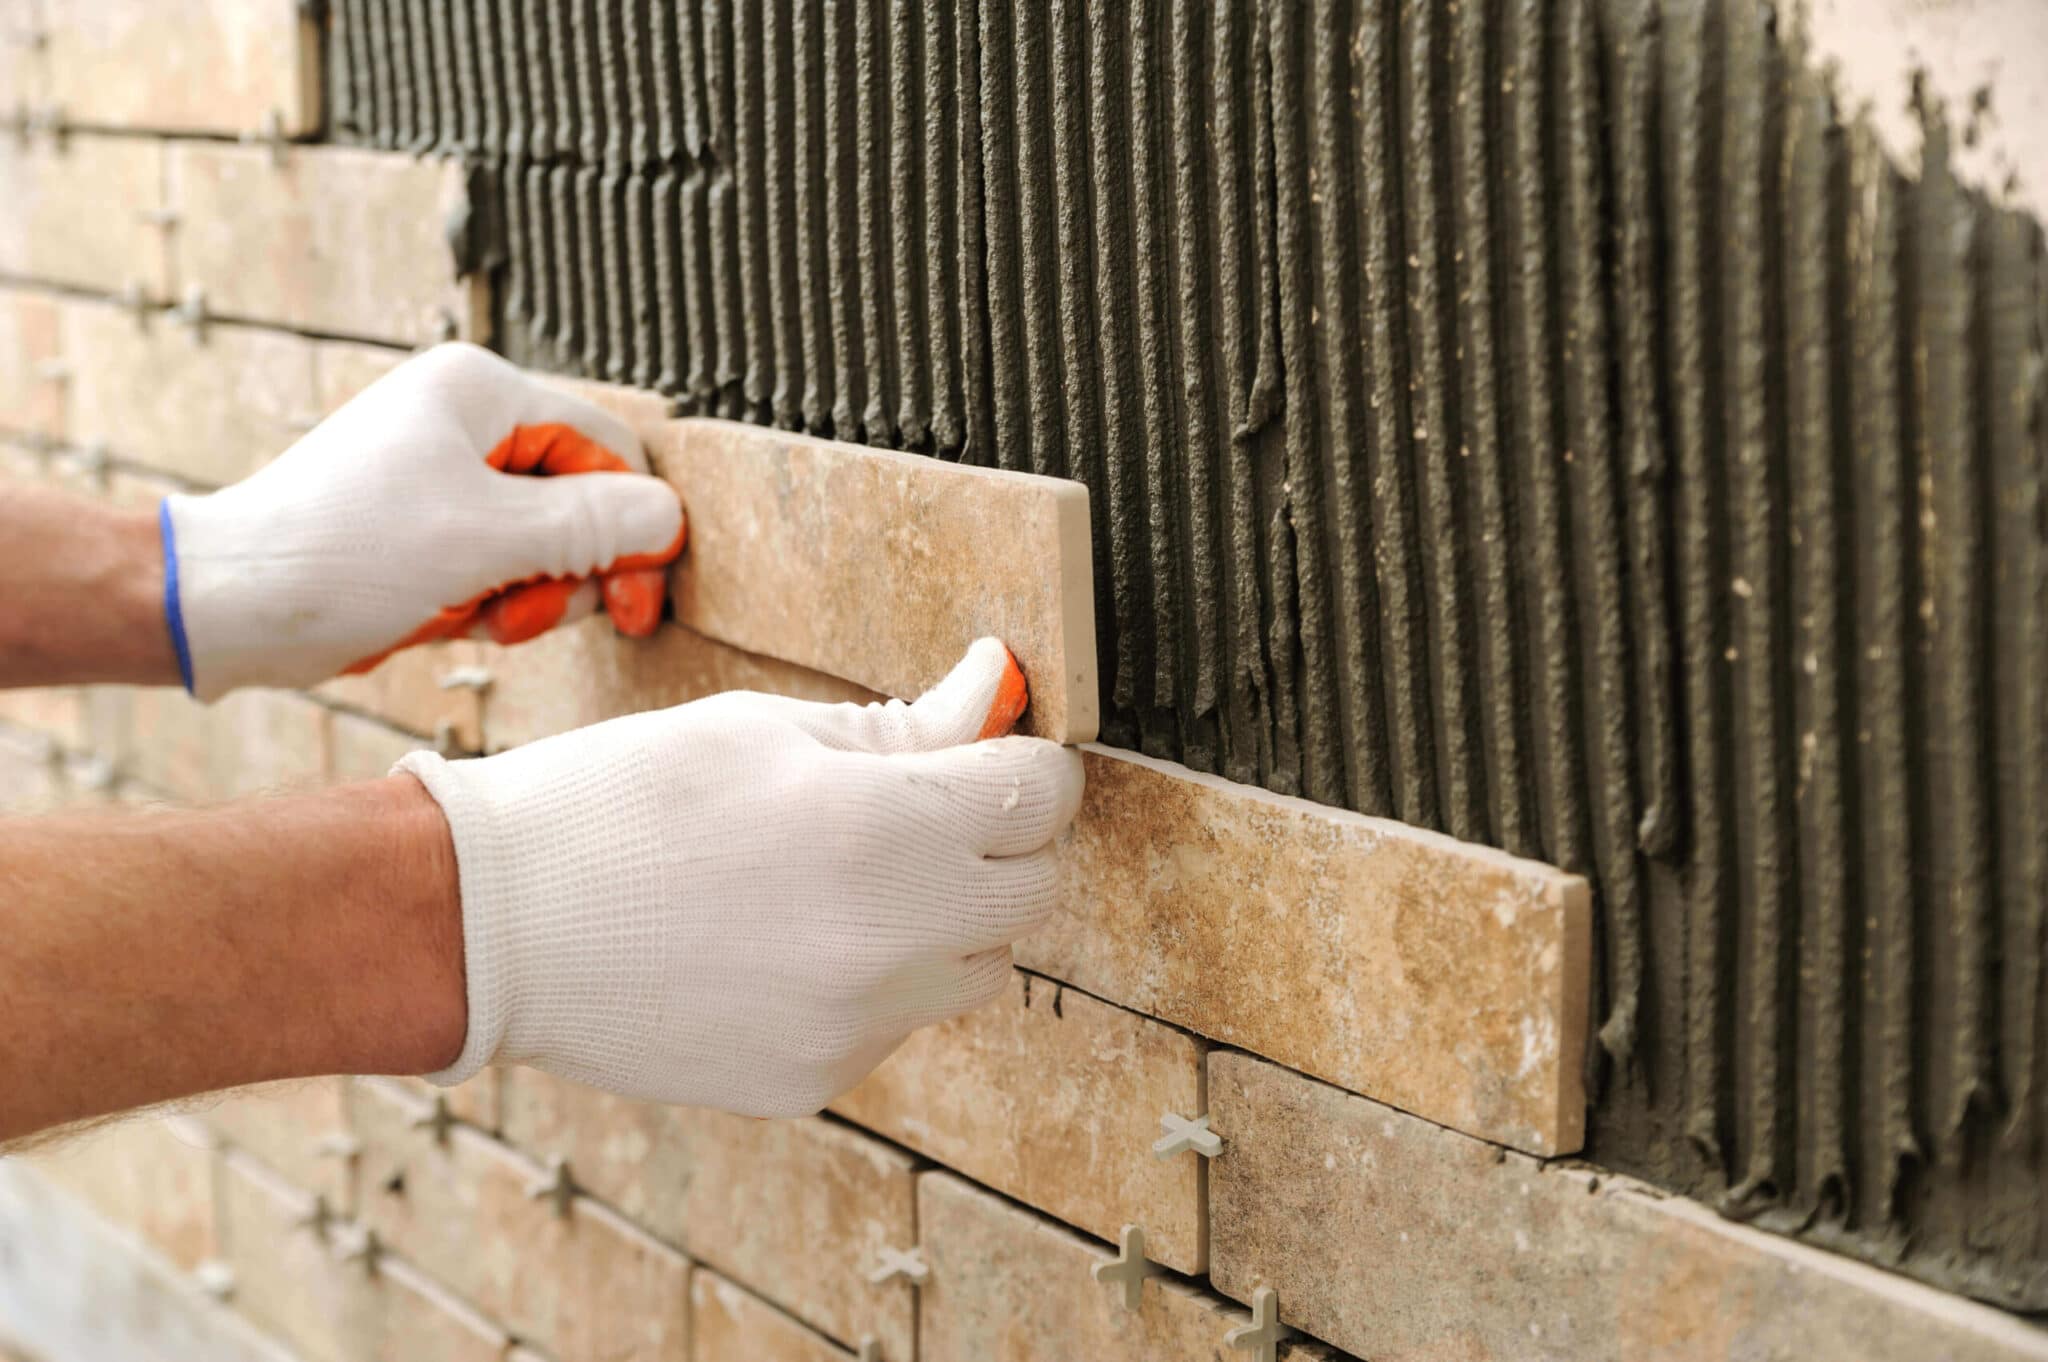
You may be asking the question ‘Should I tile the walls myself?’ or ‘Is it best to get a professional?’
Both of these have certain benefits, but the most cost-effective option is to have a go yourself. Providing you implement the right preparation and use the correct tools, tiling a wall can prove a lot more straight forward than you think.
But before you begin your DIY journey, it’s important to get the basics right. Let’s start by calculating the number of tiles & adhesive you need.
For this, make use of our free tile & grout calculator.
What will I need to Tile a Wall?
Ever heard the expression ‘a bad workman always blames his tools?’ Well, by following this guide, you shouldn’t have the need to blame them.
So, first things first, let’s look at the tools you’ll require:
Tools
- Sponge
- Tile Nippers
- Tape measure
- Spirit Level
- Claw Hammer
- Knee Pads
- Adhesive Trowel
- Tile Spacers
- Jigsaw Blades
- Silicone Sealant
- Tile File
- Grout Spreader
- An Electric or Manual Tile Cutter
Safety Kit
- Safety Gloves
- Dust Mask
Right, now that you’ve got the tools and safety equipment, let’s crack on with the job at hand.
STEP ONE – Measuring Up
Know your tile size? Great. Simply measure the height of your wall and calculate how many of those beautiful new tiles will fit from wall to ceiling.
Make sure you count a half or part tile as a whole one. Next, do the same for the width of the wall.
Next, let’s get into some maths (I know, I know but this one’s easy, I promise). Multiply the number of tiles for the height by the number of tiles for the width.
Once you’ve got that, multiply the total number of tiles by 1.1 which will give you 10% more tiles than you need. This allows for any breakages during installation.
Then repeat this for any other walls.
TOP TIP: While measuring up remember to deduct for doors and windows.
STEP TWO – Making a Tile Gauge or Rod

Lay out several tiles on the floor and space them as they will be when fixed vertically. It’s important to take into consideration the spacers between each tile.
Place the rod next to the tiles and carefully mark the line of each join. Congratulations, you now have a rod for marking out your tile positions.
STEP THREE – Marking out Plain Walls
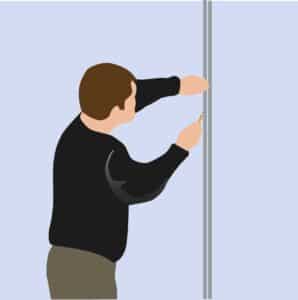
If this means the last tile will be less than half, we suggest moving the starting point up or down by half and repeat the process.
Then use a spirit level to draw a horizontal line across the wall from the bottom of the lowest row of whole tiles.
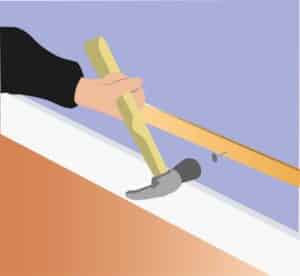
Secure a batten to the wall along this horizontal line. Now you’ve got a base to start tiling from.
Repeat this process to mark the vertical guides.
TOP TIP: To ensure the vertical lines are straight, use the gauge rod to measure and mark guidelines at 1m intervals around the room.
STEP FOUR – Planning for Part-Tiled Walls
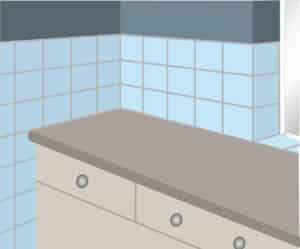
If you’re part-tiling a wall it’s best to have a whole tile at the top. This best-practice also works when tiling above a work surface.
STEP FIVE – Planning for Windows and Doors
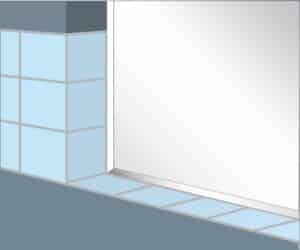
It usually makes for a much cleaner finish to have evenly sized tiles either side of the window.
This needs to be weighed up against having evenly sized tiles at either end of the wall. At the end of the day, it’s all about whatever you think will look better.
STEP SIX – Plan Your Tile Layout First
If you’re tiling a whole room, plan the layout for the entire space before fixing any tiles in place.
Take your time and mark up one wall at a time, ensuring that the baseline is identical on every wall in the room. For example, the horizontal lines must match up on all walls.
TOP TIP: When establishing this baseline, consider the levels of window sills, door heads, bath tops, and worktop levels.
STEP SEVEN – Measuring and Marking Tiles
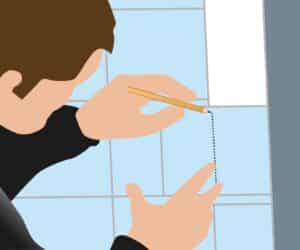
TOP TIP: Always remember to allow for the grout line when cutting your tiles.
STEP EIGHT – Cutting Tiles

Where the off-cut is narrow, the snapping process will be difficult. In this instance, use a pair of tile nippers to gradually nibble away the off-cut, working slowly towards the scored line.
When cutting a curved or L-shaped tile, score the surface along the trim line, then gradually remove the excess in small pieces with tile nippers.
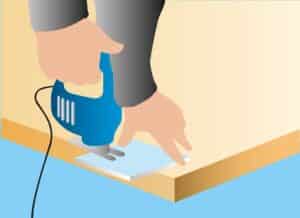
Check out our useful video on how to cut tiles.
Please note this method cannot be used for porcelain or stone tiles.
STEP NINE – Using Adhesives
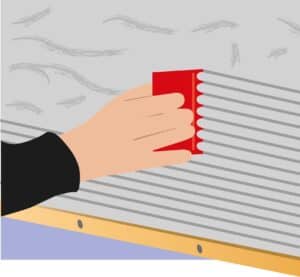
Spread adhesive over a manageable area, about 1m² at a time. Use a small ridged trowel to create raised ridges.
STEP TEN – Fixing the First Tiles
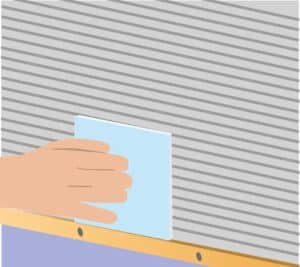
Line up its side with the vertical mark you set as your starting point. It may be easier to fix a vertical batten for the first column of tiles. Press the tile against the adhesive to make sure it’s flat and firmly fixed.
Take the second tile and fix it next to the first. Allow a gap for grouting. If the tiles don’t have lugs, use plastic spacers to maintain the gap.
Finish the first row and then fix a second row above the first. Take care to space them evenly and level with the next.
Make sure each tile is both flat relative to the wall and also to the previous tile. The ridges in your adhesive will let you move the tiles around to get the same level.
STEP ELEVEN – Continue Around the Room
You now have a solid foundation to continue around the room. Regularly check that the lines remain vertical.
Leave the bottom batten in place until the adhesive has fully set to avoid the tiles sliding out of line.
STEP TWELVE – Tiling Around Windows and Basins
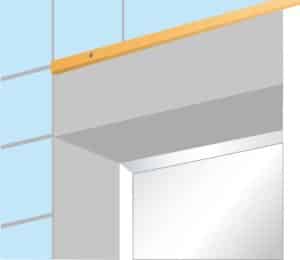
When tiling above a window, fix a temporary batten to support the first whole row above it rather than fixing the cut tiles first. Do the same with basins.
It’s a lot easier to cut these tiles into place when the surrounding whole tiles have been fixed and are set.
Above a window, any cut tiles will have nothing underneath them to stop them slipping. Use masking tape to attach them to a previously fixed tile. This will hold them in place until the adhesive dries.
STEP THIRTEEN – Grouting Tiles

Spread the grout with a squeegee. Work small areas at a time so the grout doesn’t dry before it’s in place (fig. 12).
Work the grout in every direction, pushing it into all of the joins. To smooth the grout in the joints, have a damp sponge to hand as you go.
Next, wipe any wet grout off the surface of the tiles, but take care not to remove it from the tile joints where you’ve applied it.
When you’ve finished, there’ll be a thin film of grout on the surface of the tiles. Remove this by buffing them up with a soft cloth.
And breathe! Hopefully, this guide should’ve given you all the information you require on how to tile a wall. If you’re still left with some questions, don’t hesitate to get in contact with one of our tiling professionals.
Click here to download this guide in PDF format. Oh, and remember to send in the photos when you’re done – we might even give you a cheeky mention on our social media channels.
Recent Posts
Why Choose Us?
- Free Delivery over £249*
- Free Sample Delivery*
- 10,000 Square Meters in Stock


